


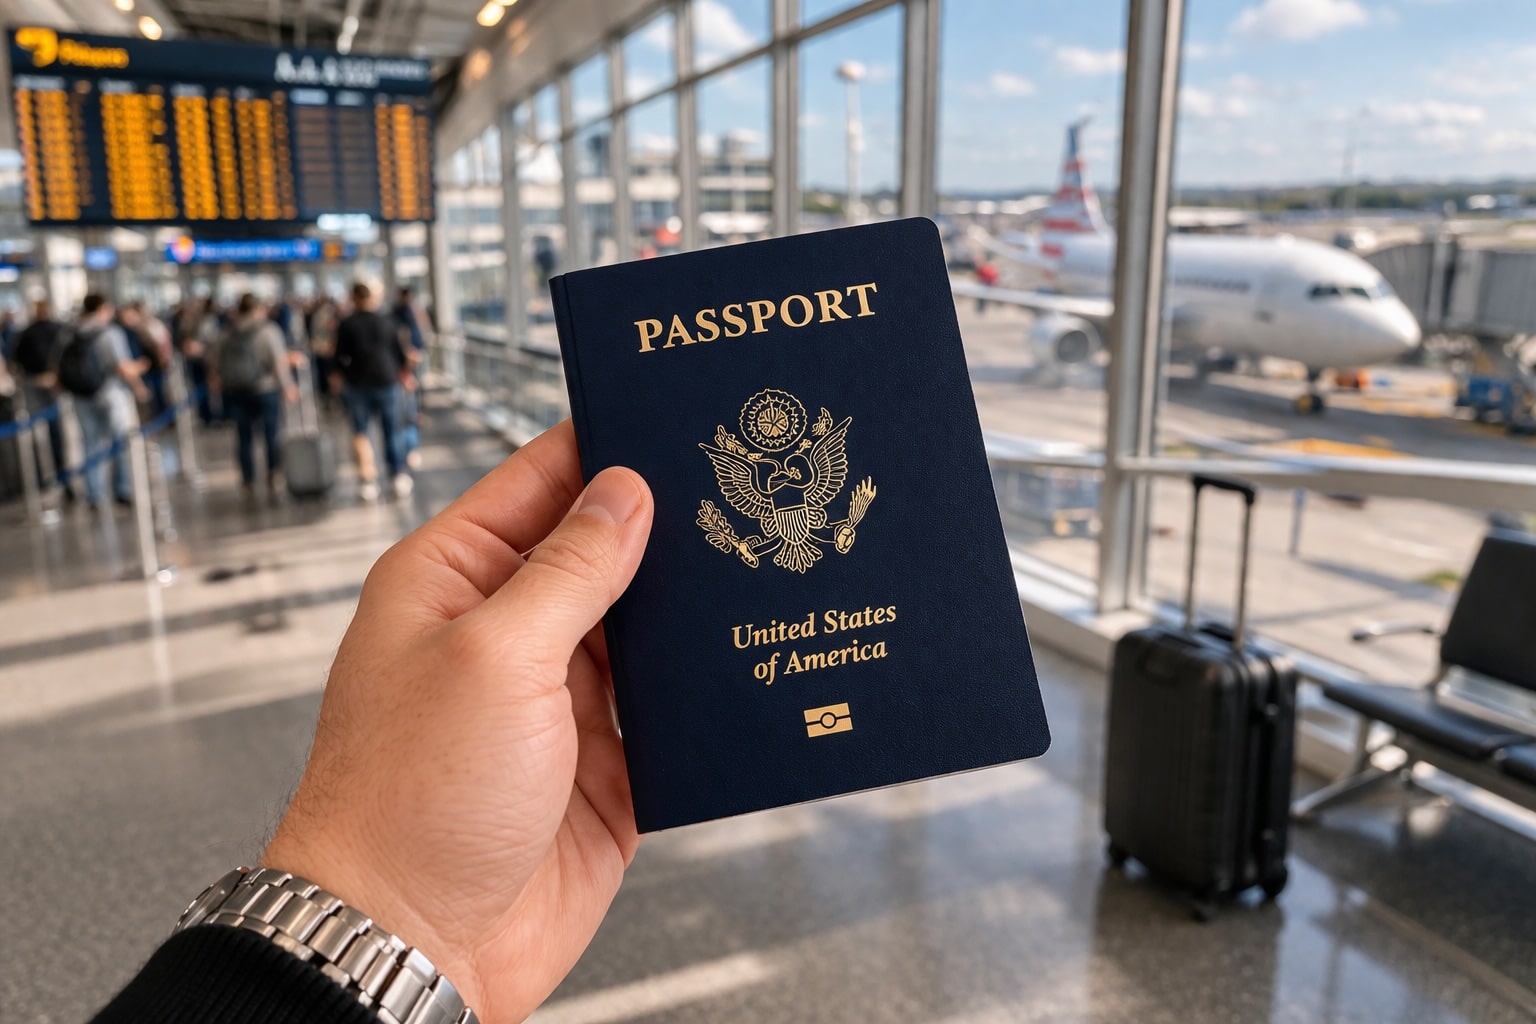
You’ve packed your bags, printed your boarding pass, and done a final sweep of your hotel room. Smart. But here’s a travel prep mistake that almost everyone makes, even seasoned frequent flyers: you photographed the wrong page of your passport.
Most travelers, when thinking ahead about losing their passport, snap a picture of the front biographical page, the one with their photo, name, and date of birth. That’s a good start. But it’s not enough. The page you actually need is the very last page, the back cover interior, which contains a barcode and a series of machine-readable numbers. That data is what the U.S. State Department requires when you go to travel.state.gov to report a passport lost or stolen.
Before your next trip, open your passport and photograph both pages. Then store them somewhere you can access from anywhere: a hidden folder in your phone’s cloud-backed photos, your email drafts, a secure notes app, or send them to a travel companion. If you end up at a U.S. embassy or consulate needing an emergency passport, those two images can be the difference between a same-day resolution and a multi-day headache.
What to Do If You Lose Your Passport Abroad
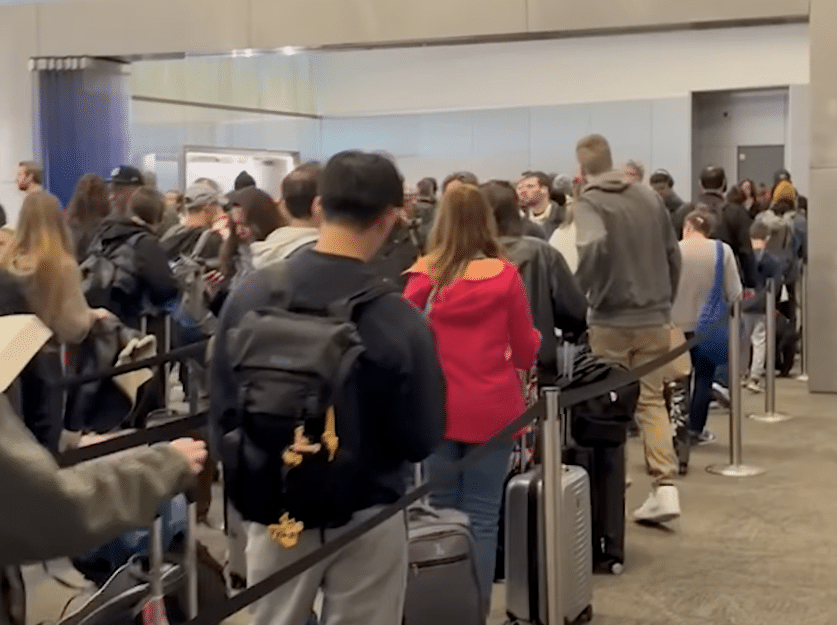
Losing your passport overseas is stressful, but it’s also one of the most common emergencies embassies handle. The process is manageable if you act quickly and know the steps.
Step 1: Report It Immediately
As soon as you realize your passport is gone, report it. You can do this online at travel.state.gov using Form DS-64. Once reported, the State Department cancels your passport within one business day. This is critical: a canceled passport cannot be used for travel or identity theft, so do not delay reporting it even if you hope it turns up. Importantly, if you later find your passport after reporting it lost, it is no longer valid. You cannot use it.
Step 2: File a Local Police Report
A police report is not mandatory, but it is strongly recommended. It documents the circumstances of the loss or theft, which can support your emergency passport application and protect you if fraudulent activity surfaces later. Get a physical copy of the report to bring to the embassy.
Step 3: Contact the Nearest U.S. Embassy or Consulate
Head to the nearest U.S. embassy or consulate as quickly as possible. You can find locations at usembassy.gov. If you have an immediate need to travel, you may qualify for a limited-validity emergency passport, often issued within one business day. For life-or-death emergencies, all U.S. embassies have after-hours duty officers available around the clock. You can also reach the State Department directly from outside the U.S. at +1-202-501-4444.
What to Bring to the Embassy
Bring as much of the following as you have. Embassy staff will do their best to help even if your documentation is incomplete, but having these items significantly speeds up the process.
- Completed Form DS-11 (new passport application; do not sign until instructed)
- Completed Form DS-64 (lost or stolen passport statement)
- Proof of U.S. citizenship: a certified birth certificate, or a photocopy of your missing passport (this is why you photograph both pages)
- Government-issued photo ID such as a driver’s license, plus a photocopy
- One passport photo (2×2 inches; many embassies have photo booths nearby or on-site)
- Your travel itinerary or boarding pass
- The police report, if you filed one
- Payment for replacement fees: currently $170 for adults, $140 for minors under 16, plus potential service and processing fees
If you genuinely cannot pay, the State Department offers guidance on emergency financial assistance for U.S. citizens abroad. Victims of serious crimes or disasters may also qualify for a free limited-validity emergency passport.
About the Emergency Passport You’ll Receive
The passport issued at an embassy abroad will typically be a limited-validity document, valid for one year rather than ten. You will receive a letter from the embassy to accompany it; keep that letter with you throughout your travels. Once you return to the United States, apply for a standard full-validity passport as soon as possible. Standard processing takes four to eight weeks; expedited service is available if you have upcoming travel.
Prevention: The Habits That Save Trips
Photograph both passport pages before every trip and store them in your cloud. Beyond that, keep your physical passport in your hotel safe whenever you don’t need it on your person. When you do carry it, use a money belt or travel wallet worn close to your body rather than a bag or back pocket. Stay alert in crowded tourist areas, markets, and public transit, where pickpocketing is most common. If you’re on a cruise or guided tour and your passport goes missing, alert the tour or cruise director immediately; they have established protocols for exactly this situation.
Consider travel insurance that covers passport loss. Many policies reimburse passport replacement fees, application costs, and expedited processing charges, and some include emergency assistance services that can help you navigate the embassy process faster.
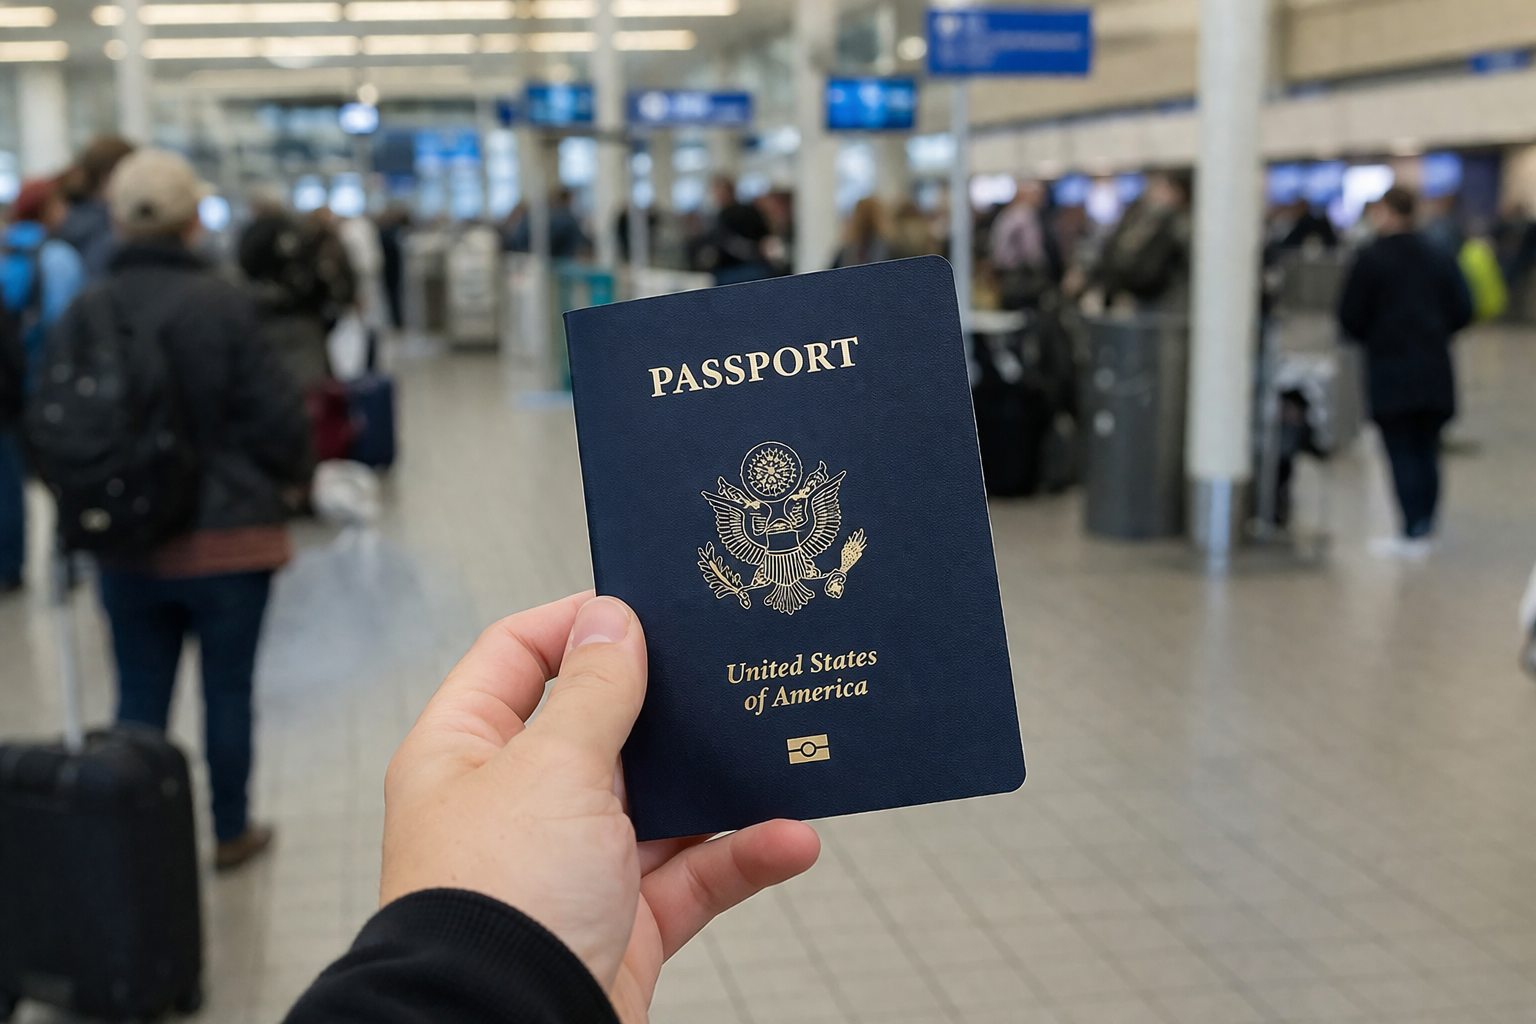
The Two-Photo Rule: A Quick Recap
Before you leave for any international trip: open your passport, photograph the front biographical page and the back page with the barcode and machine-readable numbers, and save both images somewhere accessible from anywhere. That small step takes thirty seconds and can save your entire trip if something goes wrong.
